Here's another flower tutorial for you. These are really easy to make and I would think everyone will have all the equipment for them.


1. Here's what you'll need to make these flowers. Glue, scissors, quilling tool, circles of light weight card or paper- plain or patterned, and something to colour the circles if you're using plain paper. I used distress inks and apply it with Cut 'n' Dry Foam. I use nesties to cut the circles and prefer the smaller size, but that's just a personal thing.

2. Colour your card however you choose, you could use ProMarkers/Copics if you want them to match your card perfectly.


3&4. Starting at the edge of the circle cut a continuous line to the centre

5. With the quillng tool, place the end of the cut circle into the slot on the tool.


6&7. Roll the tool so that the paper winds round the end, continue all the way till you get to the centre.

8. Release the quilling tool and tuck the centre of the circle underneath, this is where you'll glue the flower.

9. Now pull the centre towards you to loosen the coil, fiddle about with it till you're happy.

10. Now add a blob of glue to the centre bit and push it together between your thumb and finger, so your thumb is pressing into the top of the flower.


And that's it! You can play around with different size cirlcles and the depth at which you cut, I keep the depth narrow due to postage costs..... lol They're also nice with a bit of glitter added around the top edge.
ENJOY!

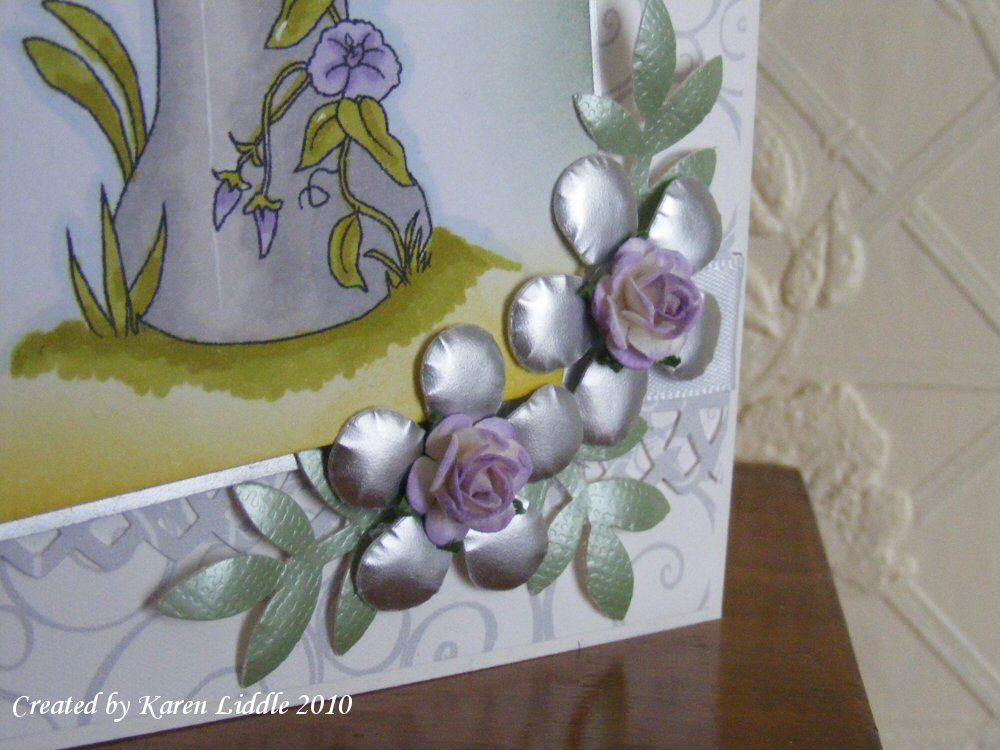
 Tilda is coloured with the usual ProMarkers, the BP is from a pad I bought in Florida a few years ago and the flowers I made myself, the tutorial for these is in the sidebar.


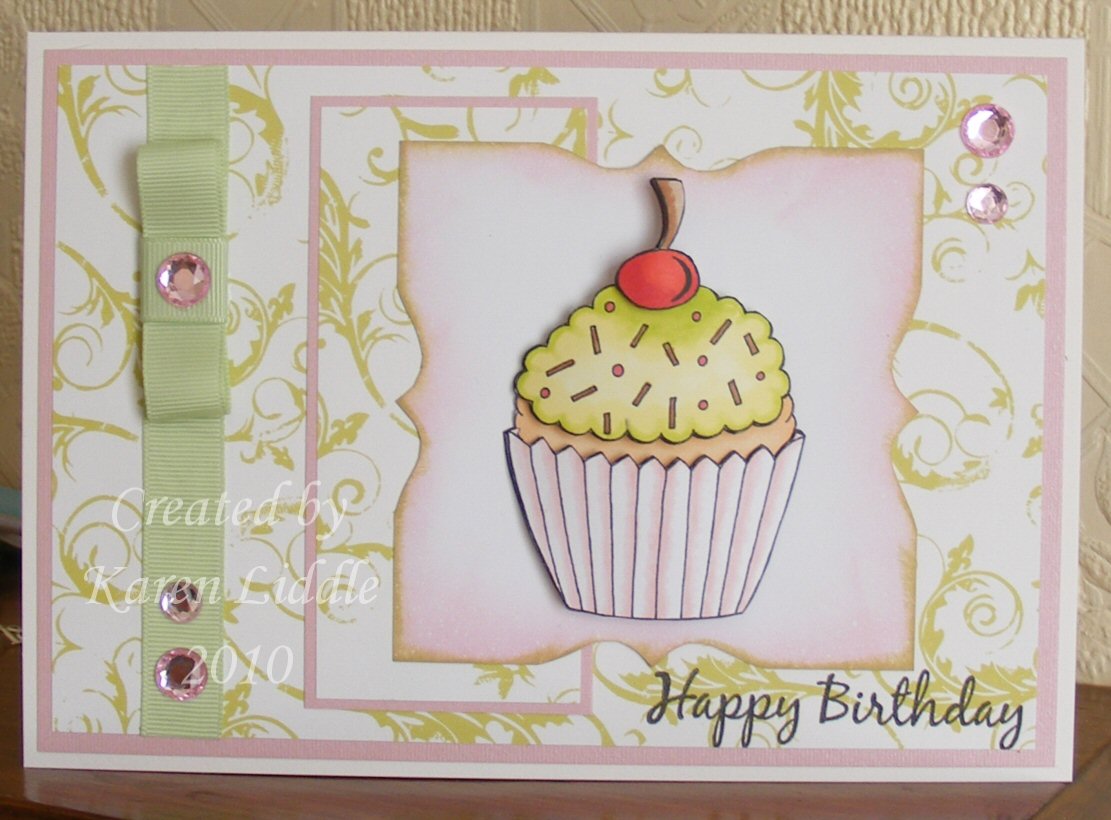
 I printed it off 3 times and coloured it with ProMarkers then decoupaged it up. The backing papers are from Pink Petticoat, the ribbon is from Stampin Up (Celery) and the gems just from my stash.


